
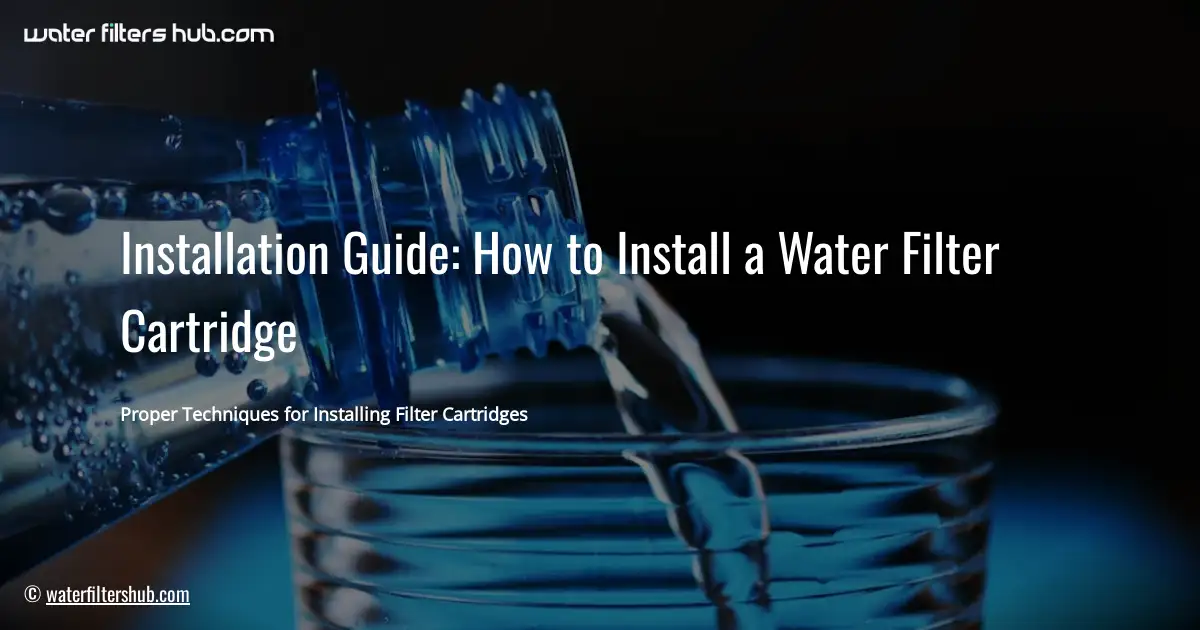
Proper Techniques for Installing Filter Cartridges
Introduction
Importance of Water Filtration
“Water is the elixir of life,” they say. But what if the water you drink is contaminated with harmful substances? That’s where water filtration comes in, like a superhero saving the day! It’s the key to ensuring that the water you consume is pure and safe. 💧
Types of Water Filter Cartridges
There’s a whole range of water filter cartridges out there, each with its own unique powers. Some are like tiny magnets, attracting and removing impurities. Others are like microscopic bouncers, blocking out unwanted particles. And then there are those that use a combination of these techniques, giving you the ultimate water purification experience.
Overview of Installation Process
Installing a water filter cartridge is like putting together a puzzle. It’s not rocket science, but it does require a bit of know-how. So, let’s dive into the step-by-step process and make sure your water is as clean as a whistle! 🚰
Before you even think about touching that filter, make sure you’ve turned off the water supply! 💦 It’s like when you’re baking a cake and you forget to turn off the oven—it’s a recipe for disaster. So, grab your trusty wrench and give the water valve a quarter turn to the right. That’ll cut off the flow and keep you from getting soaked. Trust me, you don’t want to be the one mopping up the mess! 🧹
TOOLS AND MATERIALS 🔧
Essential Tools for the Job
Installing a water filter cartridge requires a few basic tools to ensure a smooth and successful process. Gather the following items before you begin:
- Wrench or pliers: To tighten and loosen the filter housing.
- Gloves: To protect your hands from dirt and debris.
- Eye protection: To shield your eyes from any splashing water.
- Replacement filter cartridge: The new cartridge that you’ll be installing.
Remember, having the right tools on hand will make the installation a breeze!
Identifying the Filter Housing 🏠
Identifying the type of filter housing is crucial for a successful installation. There are two common types:
- Canister Housing: A cylindrical-shaped unit that holds the filter cartridge inside. Canisters can be installed under sinks, in basements, or outdoors.
- Under-Sink Housing: A compact unit that fits under the kitchen sink. It typically houses a single filter cartridge and connects directly to the water supply line.
To determine the housing type, locate the filter unit and inspect its shape and location. If it’s a cylindrical unit, it’s a canister housing. If it’s a compact unit under the sink, it’s an under-sink housing.
Removing the Old Cartridge 🔧
“Out with the old, in with the new!” Removing the old filter cartridge is the first step in giving your water a fresh start. Before you get started, make sure to shut off the water supply. Safety first! Open up the filter housing and carefully take out the old cartridge. Give it a thorough inspection for any damage or debris. If you find any cracks or leaks, it’s time to say goodbye to that old filter and hello to a new one.
Step-by-Step Guide to Cartridge Removal:
- Turn off the water supply.
- Open the filter housing.
- Remove the old cartridge.
- Inspect for damage or debris.
HOW TO INSTALL WATER FILTER CARTRIDGE ON YOUTUBE
Preparing the New Cartridge 💧
Before installing your new water filter cartridge, it’s crucial to give it a little TLC. First, unwrap it from its packaging and give it a thorough inspection for any defects. If you notice any cracks or damage, it’s best to return it for a new one.
Next, if your cartridge has O-rings, don’t forget to lubricate them lightly with a food-grade lubricant. This will help create a watertight seal and prevent leaks. It’s like putting on a little bit of Vaseline on a door hinge – it makes everything run smoother and lasts longer!
Installing the new cartridge is a delicate dance of precision and firmness. Gently guide it into the housing, as if you’re placing a precious gem in a velvet box. Hand-tighten it until it feels snug, like a warm hug. But don’t stop there! If the manufacturer’s instructions call for it, grab your trusty wrench or pliers and give it an extra twist. It’s like putting on a seatbelt—you want it secure, but not so tight that it cuts off circulation. Remember, a well-installed cartridge is a happy cartridge, and a happy cartridge means clean, refreshing water for you and your loved ones.
Reassembling the Filter Housing
Once the new cartridge is snugly in place, it’s time to reassemble the filter housing. Close it up and tighten it securely with your hands. Think of it like putting on a lid to a jar—you want it to be snug but not so tight that you can’t open it later.
Now, it’s time to reconnect the water supply. Imagine your filter as a thirsty plant that needs a drink. Turn on the water supply and let the water flow through the filter for a few minutes. This will help flush out any air or debris that might be lurking inside.
As the water flows, keep an eye out for any leaks. If you spot any, don’t panic! Just tighten the connections a bit more until the water stops escaping. It’s like a leaky faucet—a little tightening usually does the trick.
Section Nine: Flushing the System
Once the new cartridge is securely in place, it’s time to give your system a thorough flush. Just like a brand-new car needs a test drive, your water filter needs to run for a bit to get rid of any loose debris or air bubbles.
Turn on the water supply and let the water flow through the filter for several minutes. It’s like giving your water a fresh start, ensuring every drop is as pure and refreshing as the first. As the water rushes through, you might notice a few air bubbles or discolored water. Don’t worry, it’s just the system getting rid of any trapped air or residual particles.
After a few minutes of flushing, the water should run clear and free of any impurities. This is your cue that the system is ready to provide you with the cleanest, most delicious water you’ve ever tasted.
Water filter cartridges, like trusty sidekicks, need some TLC to keep your water pure and sparkling. Regular maintenance is key to ensuring their optimal performance. Just like a car needs an oil change, your filter needs a little refresh every now and then. The manufacturer’s instructions will give you the lowdown on how often to swap out your cartridge.
But here’s a heads-up: keep an eye out for these telltale signs that it’s time for a change:
- Reduced water flow: If your water’s taking its sweet time to fill up your glass, it might be a sign that your filter is getting clogged.
- Funny taste or smell: If your water’s starting to taste or smell a bit off, it’s a red flag that your filter needs some R&R.
- Discolored water: If your water’s looking a bit murky or discolored, it’s time to give your filter a break.
By following these simple maintenance tips, you can extend the lifespan of your filter cartridge and keep your water flowing crystal clear. It’s like giving your water a spa day, ensuring it’s always at its best for you and your loved ones.
[PDF] INSTALLING A BRITA FILTER
[PDF] INSTALLING A PUR FILTER
HOW TO CHANGE FILTER ON WATER FILTRATION SYSTEM
HOW TO MAKE WATER FILTER AT HOME WITH BOTTLE
HOW DO WATER FILTERS WORK
HOW TO FLUSH WATER FILTER BEFORE USE
WHAT WATER FILTERS ARE BEST


Leave a Reply